
How to Remove Backgrounds in DaVinci Resolve: A step-by-step guide on how to make a video transparent in DaVinci Resolve.
Whether you’re a beginner or an experienced editor, DaVinci Resolve is a powerful video editing software that can help you achieve professional-looking results.
The need to make a background transparent usually arises when working with stock footage, like with snow or smoke with a black background. It can also include green screen elements with a green or blue key background.
Removing backgrounds in DaVinci Resolve to make them transparent can be applied to two main types of background situations. First in black or white element backgrounds. Second in colored backgrounds (like blue or green screens).
In this article, we’ll guide you through the steps needed to remove these backgrounds from your videos using this incredible software. With just a few simple steps, you’ll be able to transform your footage and create stunning visuals.
Tools That We’ll Be Using
If you are looking for great stock footage to work with for overlays, consider Envato Elements. With Envato Elements you get access to millions of pieces of content, including audio, video, photo, and more. This is a great place to get footage to work with this article. Click here to view the details of Envato Elements.
And if you’re worried about breaking the bank, fear not! We understand the importance of affordability without compromising on quality. That’s why we created Mixkit – a platform offering free stock videos, music tracks, video templates and sound effects that are perfect for any budget.
For the sake of this article, we’ll be working with two video clips:
- The main image will be a video of people walking in the snow.
- The overlay video I’ll be working with is a video clip of snow falling. I want to add it to the image of people having fun in the snow.
How to Make a Video Transparent in DaVinci Resolve
Removing Black or White Element Backgrounds
These elements are designed to be overlaid on other footage. So, your first step in DaVinci Resolve to remove the background should be to overlay your element on top of your other footage. To do this, simply click and drag the element to the correct position over your other materials.
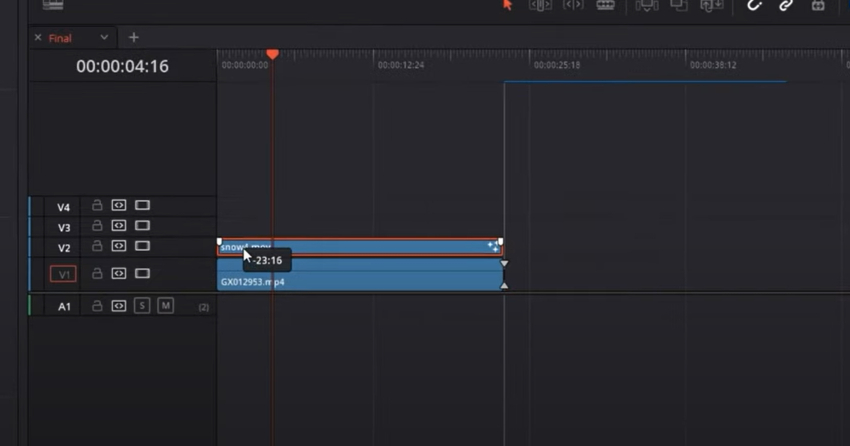
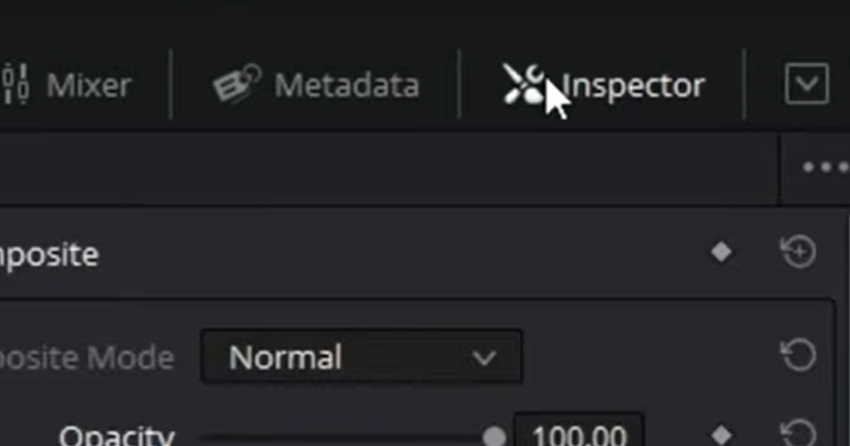
Black and white are the easiest elements to make transparent. This can include elements like a snow or smoke overlay. To remove the black background and make the video transparent in DaVinci Resolve, select the layer and go to the inspector panel. If you don’t see the panel, click the ‘Inspector‘ button at the top right-hand corner to open it.
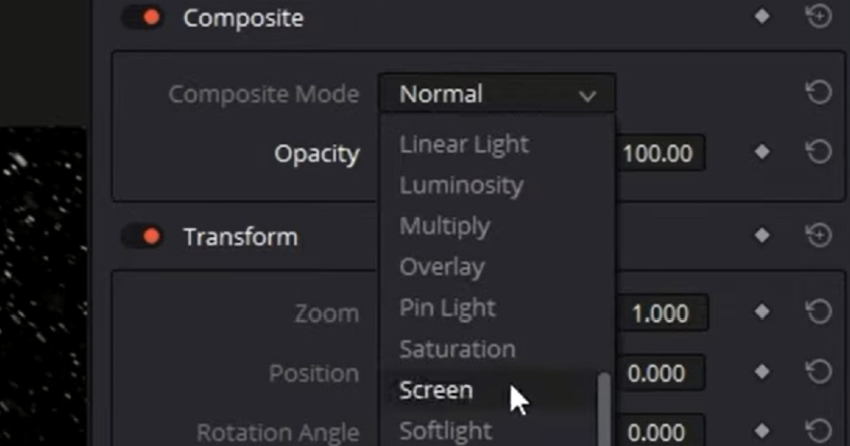
The next step to make a video transparent in DaVinci Resolve is located in this Inspector area. Under the ‘Composite‘ section, select ‘Composite Mode‘ and change it to ‘Screen‘. If your element has a white background, choose ‘Multiply‘ instead.
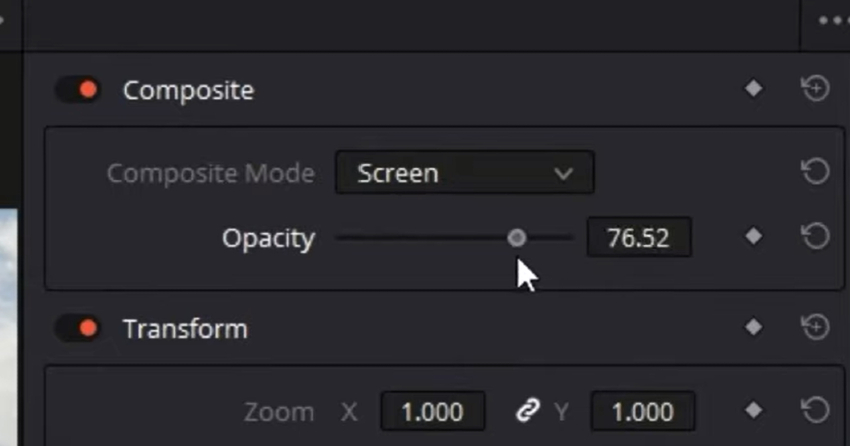
By adjusting the opacity, you can make fine-tune adjustments to make the overlay look more realistic. This is an essential part of how to make video transparent in this powerful software.
However, this method might not work for situations beyond pure black-and-white images like snow, dust, or smoke overlays. But don’t worry! Here’s how to make a video transparent in DaVinci Resolve when dealing with more complex situations.
Removing Colored Backgrounds
DaVinci Resolve’s background removal process takes a different approach for colored backgrounds. Start by overlaying your element with a colored background on your other footage. Once that’s done, select the ‘Fusion‘ tab to edit it.
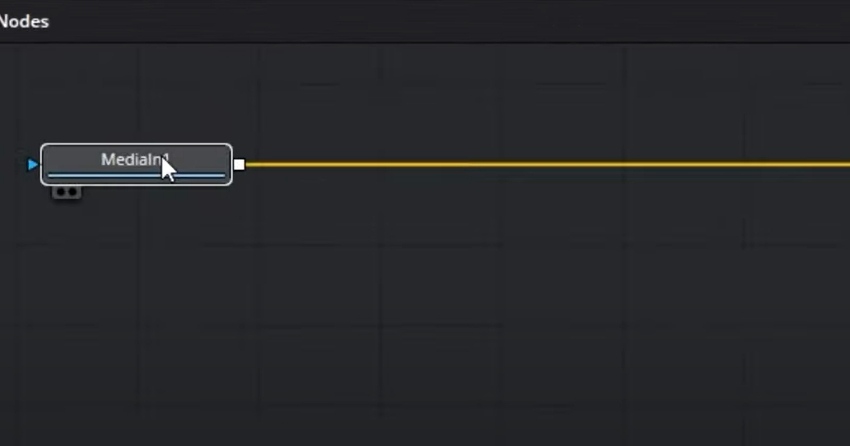
In Fusion, select the node labeled ‘media in‘.
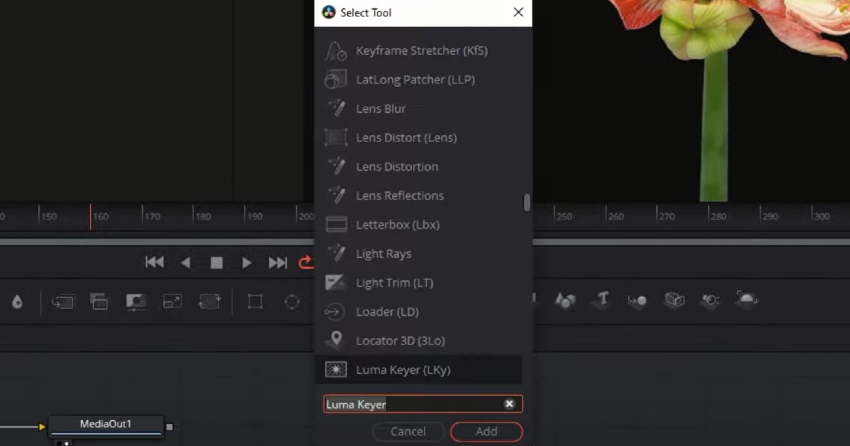
Next bring up the tools by holding ‘shift’ + ‘spacebar’. This will bring up a list of tools, from which you will select the ‘luma keyer‘.
The luma keyer should be directly attached to your ‘media in‘ and ‘media out‘ nodes. This is a crucial step in how to make a video transparent in DaVinci Resolve. If it’s not attached as shown below, we’ll show you how to attach it as well.
If it is detached, all you need to do is click the connective line from the ‘MediaIn‘. Then drag it to connect to the little yellow arrow on the left side of your ‘LumaKeyer‘. Finally, connect the right side arrow to the left arrow of the ‘MediaOut‘, as shown below:

Now, our media starts out normal, passes through our Luma Keyer Note, and finally displays whatever changes that we’ve created.
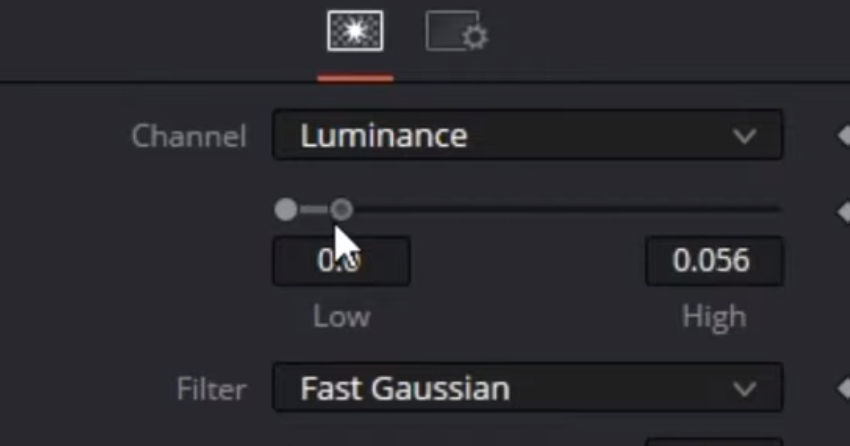
After that, you can start making changes using the luma keyer. Using the ‘inspector‘ tab at the top right-hand corner, adjust the ‘low’ and ‘high’ sliders on the luminance channel until your colored background starts to disappear and the remaining visuals’ opacity is at a level that you would like. Maybe you want them to be completely transparent, or completely visible. The choice is yours.
You can also zoom in using the controls above the preview window to make sure your selection is optimized for the least amount of noise around your elements’ edges. This will be increasingly important for detailed cleanup work.

Perfecting Your Key
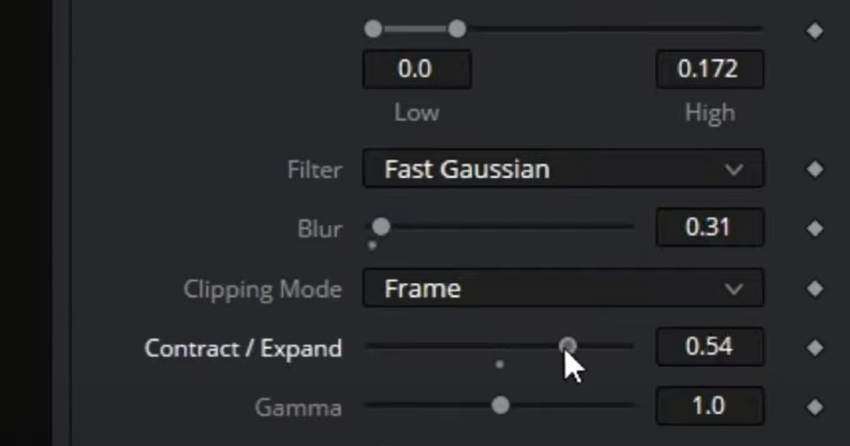
If you need to further denoise your clip, adjust the ‘Blur‘ and ‘Contrast/Expand‘ sliders until you’re satisfied with the smoothness of your asset’s edges. Once you’re done, go back to the edit panel where your main timeline is, and your effect should have taken shape.
What if You Have a Colored Background?
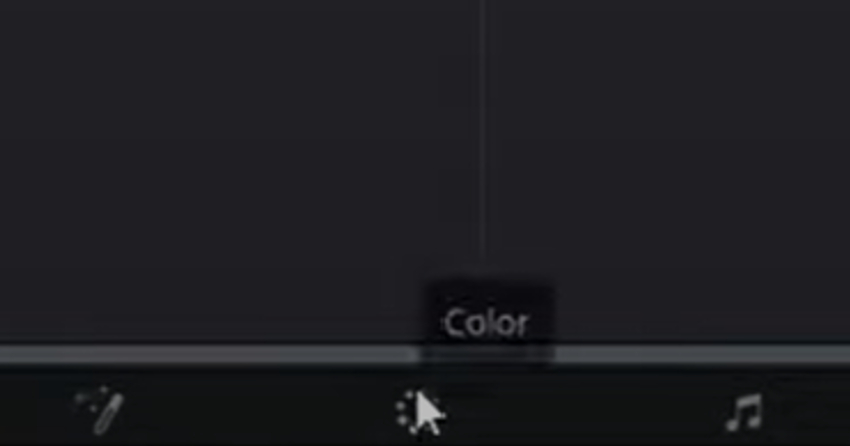
Let’s assume for the sake of this tutorial that you have a blue background. The process is similar but with a different tool setup. Set up your clip in the same way as before, over your other footage, but then select it and click on the ‘Color‘ tab. Here, make sure the node workspace is visible by clicking on the node’s icon in the top right-hand corner.
Activate the Node workspace by clicking on the ‘Node‘ Tab.

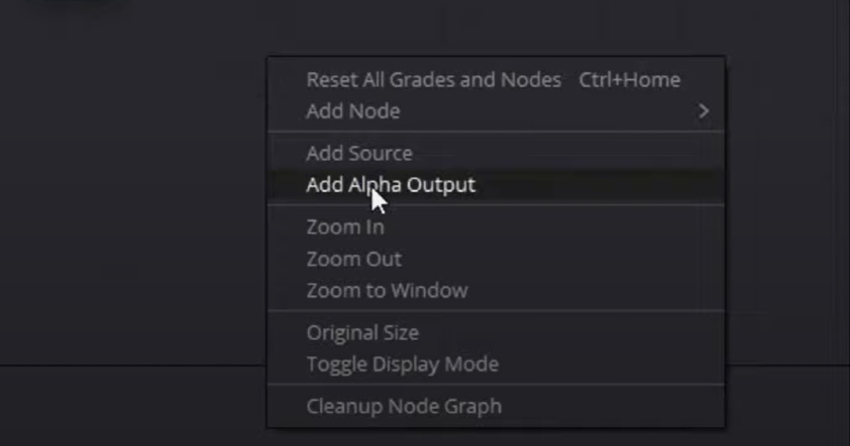
Next, right-click anywhere in the node workspace and select ‘Add Alpha Output‘.
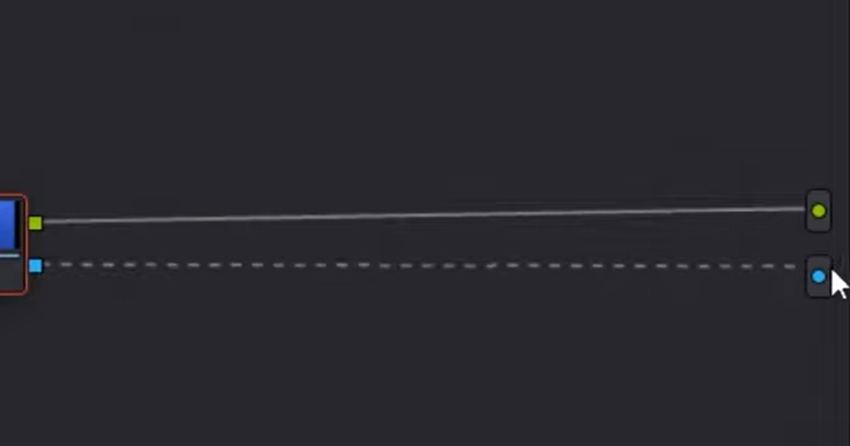
Drag the line between the Blue Square on your node and the blue alpha output circle.
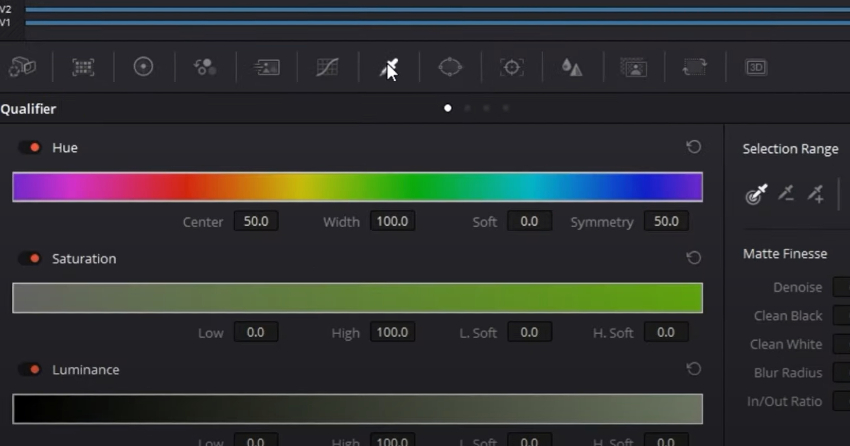
Then, click on the ‘qualifier‘ icon to bring up its menu.
Click the ‘Color Picker‘ Icon.
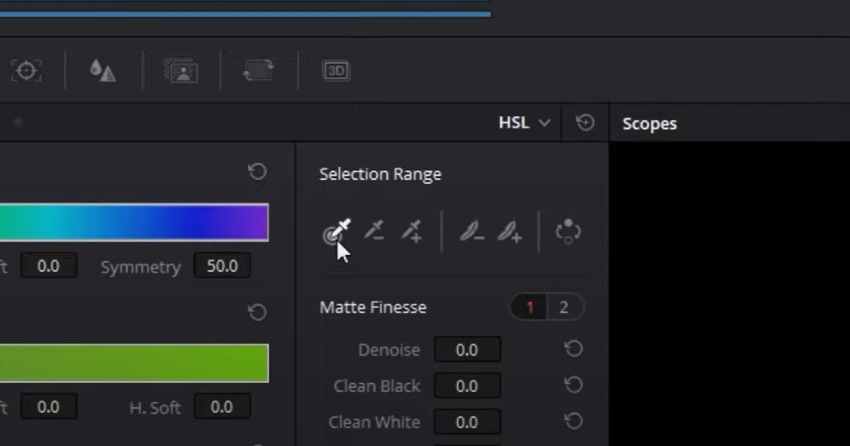
Use this to select the background color from your preview window that you want to get rid of. In this case it’s blue. If there is a variance, try to find the best representation of that color.

To finalize the effect, click on the ‘invert‘ icon. Your selected color is now transparent.

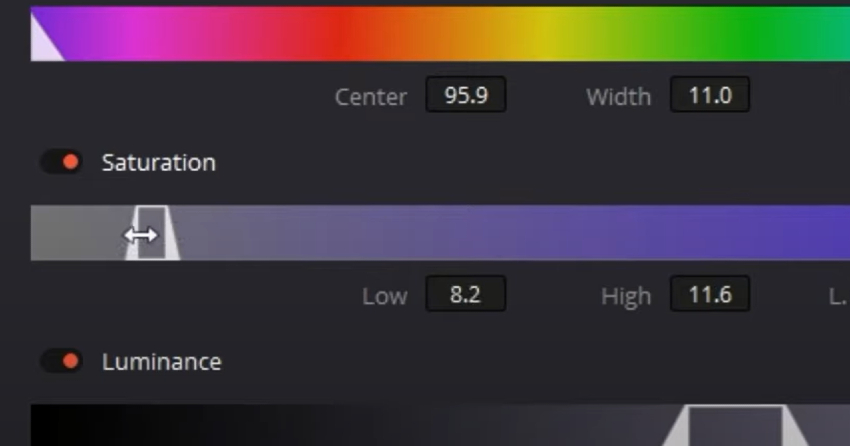
However, if your selection isn’t quite perfect, you can improve it in several different ways. Starting with improving the color selection in the qualifier section. You can adjust the Hue, Saturation, and Luminance.
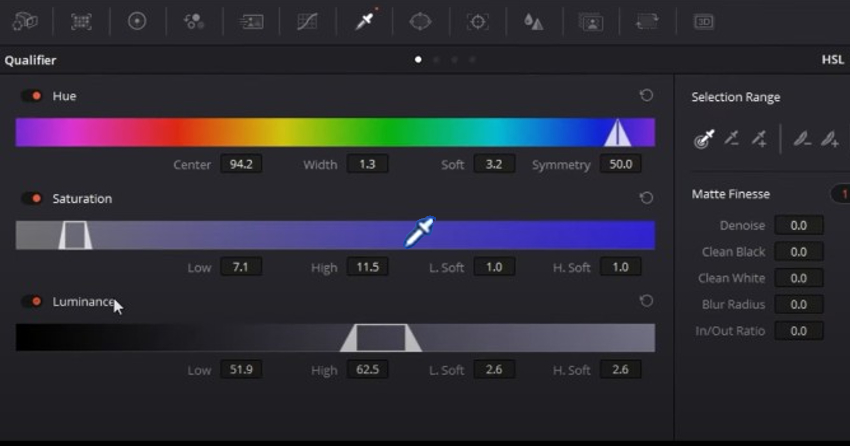
To widen the edges of the hue barriers, you can increase the range of the color included, making it more transparent.

If this doesn’t seem to be working, try increasing the saturation range, keeping in mind that it might only be greater or lesser saturation needing to be included more. In our case, widening the range to include greater saturation helps us out a bit more. Additionally, increasing the low and high soft values will give a greater gradient or roll-off to your selection, helping to prevent harsh cut-offs due to your selection.
However, if you still haven’t achieved a perfect key, move down to luminance and go through the same process to see if it helps. After all these adjustments, you should end up with a pretty nice key.

Dealing with Undesirable Elements
If you still end up with some undesirable elements like pixelation or speckling from your key, the last thing I would suggest is using the matte finesse options. Playing with the Denoise, Clean Black, and In/Out Ratio settings will most likely help solve your problem.

Clean Black will likely give you the most success in an aesthetically appealing way, but if you’re still having trouble, Denoise will help by softening your overall matte. Be cautious when using Denoise, as it can sometimes leave a soft fog of color over your image.
Lastly, the In/Out Ratio is a powerful tool but has the potential to cut into your image or leave a bad halo around it if you’re not careful.
Master your technique
Whether you’re a professional videographer or an aspiring content creator, removing backgrounds and creating transparent videos will add an extra layer of professionalism and creativity to your work.
In this tutorial, we covered two different methods for removing backgrounds and making them transparent in DaVinci Resolve. These techniques are useful for various situations, and with some practice, you’ll be able to master them in no time. Happy editing!


