
Adobe Premiere Pro Project files pack everything you need to create stunning openers, explainers or marketing videos. Projects may cover a wide variety of content, so no two are exactly alike.
A project may contain multiple assets, sequences and placeholders, and the items within a project may differ from one another in their settings. Within a single project, you may edit and replace most content including text, colors, images, video clips and effects.
This tutorial will walk you through how to open a Premiere Pro project downloaded from Mixkit, or import it into an existing project, and where you may begin customizing. The process is identical on both Windows and macOS.
If you prefer to learn through video tutorials, check out Premiere Gal’s tutorial of How to install and use Mixkit’s transition project files:
Before you begin, you’ll need:
- Adobe Premiere Pro CC 2020 (Installed)
- The basics of how to use Premiere Pro
- Your favorite project .zip file downloaded from Mixkit
How to Import a Mixkit Premiere Pro Project file to an existing project:
- Open your existing project
- From the Premiere Pro main menu, select File > Import
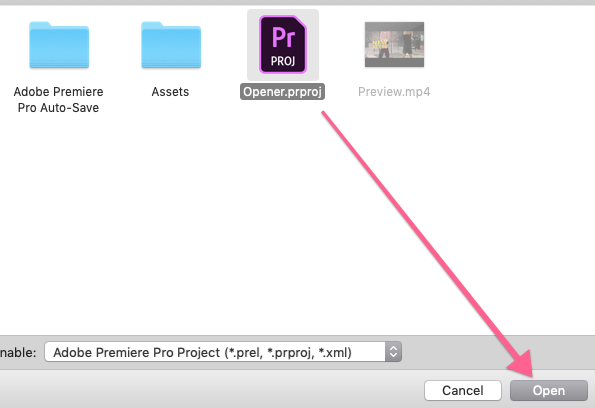
- Browse to the location of the prproj file you wish to import, select it and click Open
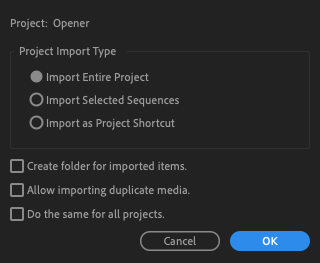
- Select the parts you wish to import and click OK
Opening the Premiere Pro Project
- Extract the file you downloaded from Mixkit to your Desktop
- From the home screen of Adobe Premiere Pro, click Open Project

- Browse into your extracted premiere pro project folder, select the prproj file and click Open.
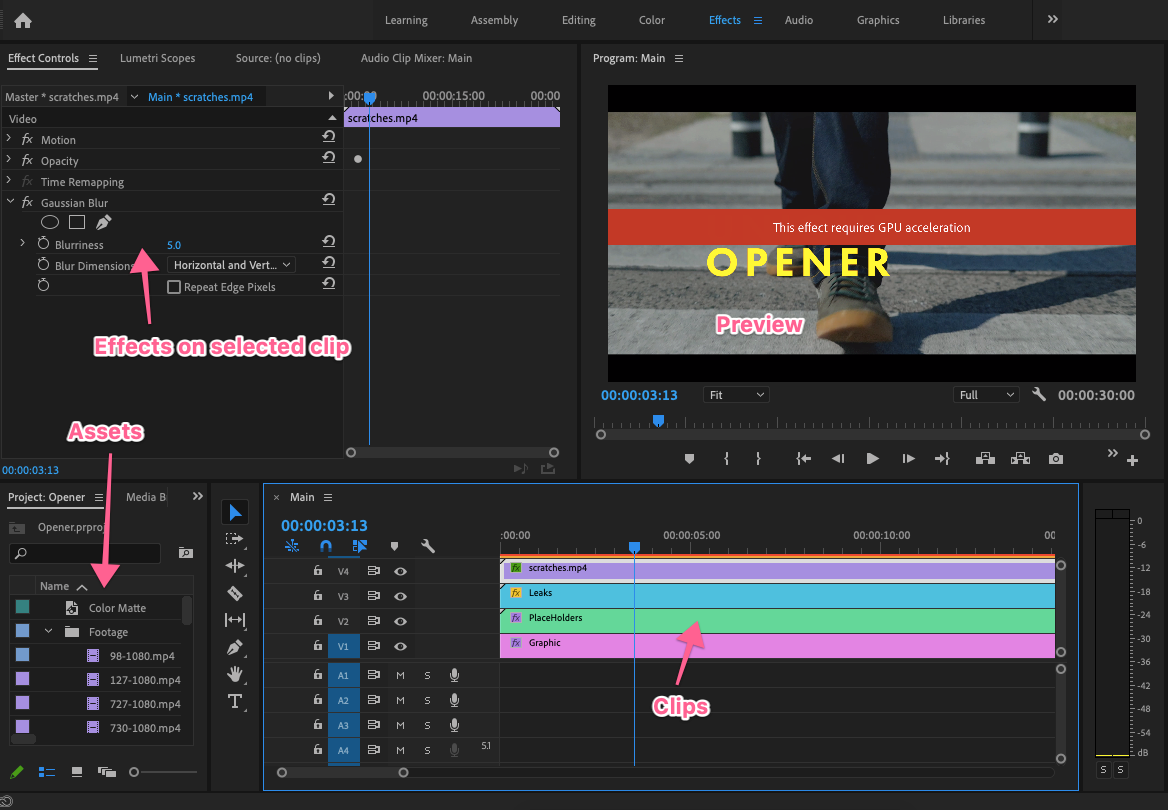
- The project will typically open in the Effects panel by default. You may select a clip in the sequence panel to view global effects or styles:
- Select whether to import the entire project or just selected sequences and click OK
More Free Premiere Pro Templates
Why stop at just one Project? Explore our gallery of free Premiere pro templates and choose between openers, transitions, social elements, & more. Stumble across a project file? Learn how to download and use a Premiere Pro Mogrt from Mixkit.


